
Programming the KBParadise V60 Polestar Keyboard
KBParadise V60 Polestar Keyboard
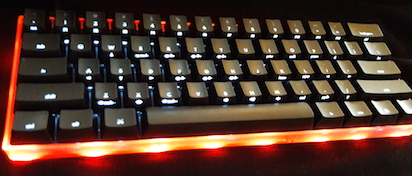
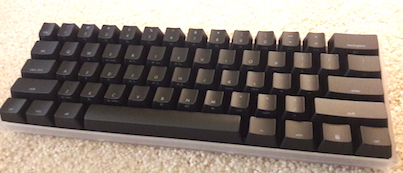
I recently purchased my first non-Model-M mechanical keyboard, the KBParadise V60 polestar.
- Night
- Day
I like the 60% size, the feel of the cherry MX clear key switches, and the customization potential from its ATMEGA32u4 microcontroller. The original layout of the keyboard did not match the way I prefer for use with a Mac or Linux system, but this can be easily changed. I am using the U.S. layout, other layouts likely work similarly. The following describes how to customize the keyboard from a Mac, for comfortable Mac use.
This is the layout defined by default for the keyboard. This layout shows two layers with the first layer printed on the tops of the keys, the top legend, and the second layer on the front. 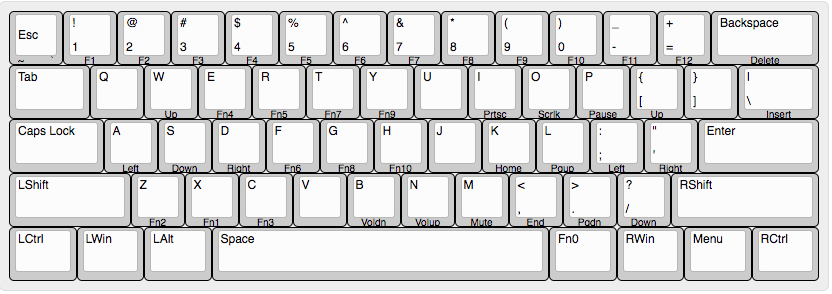
The real difference is with the arrangement of the modifier keys. The important modifiers being at the bottom left. Here is the default Mac layout from an actual mac keyboard.
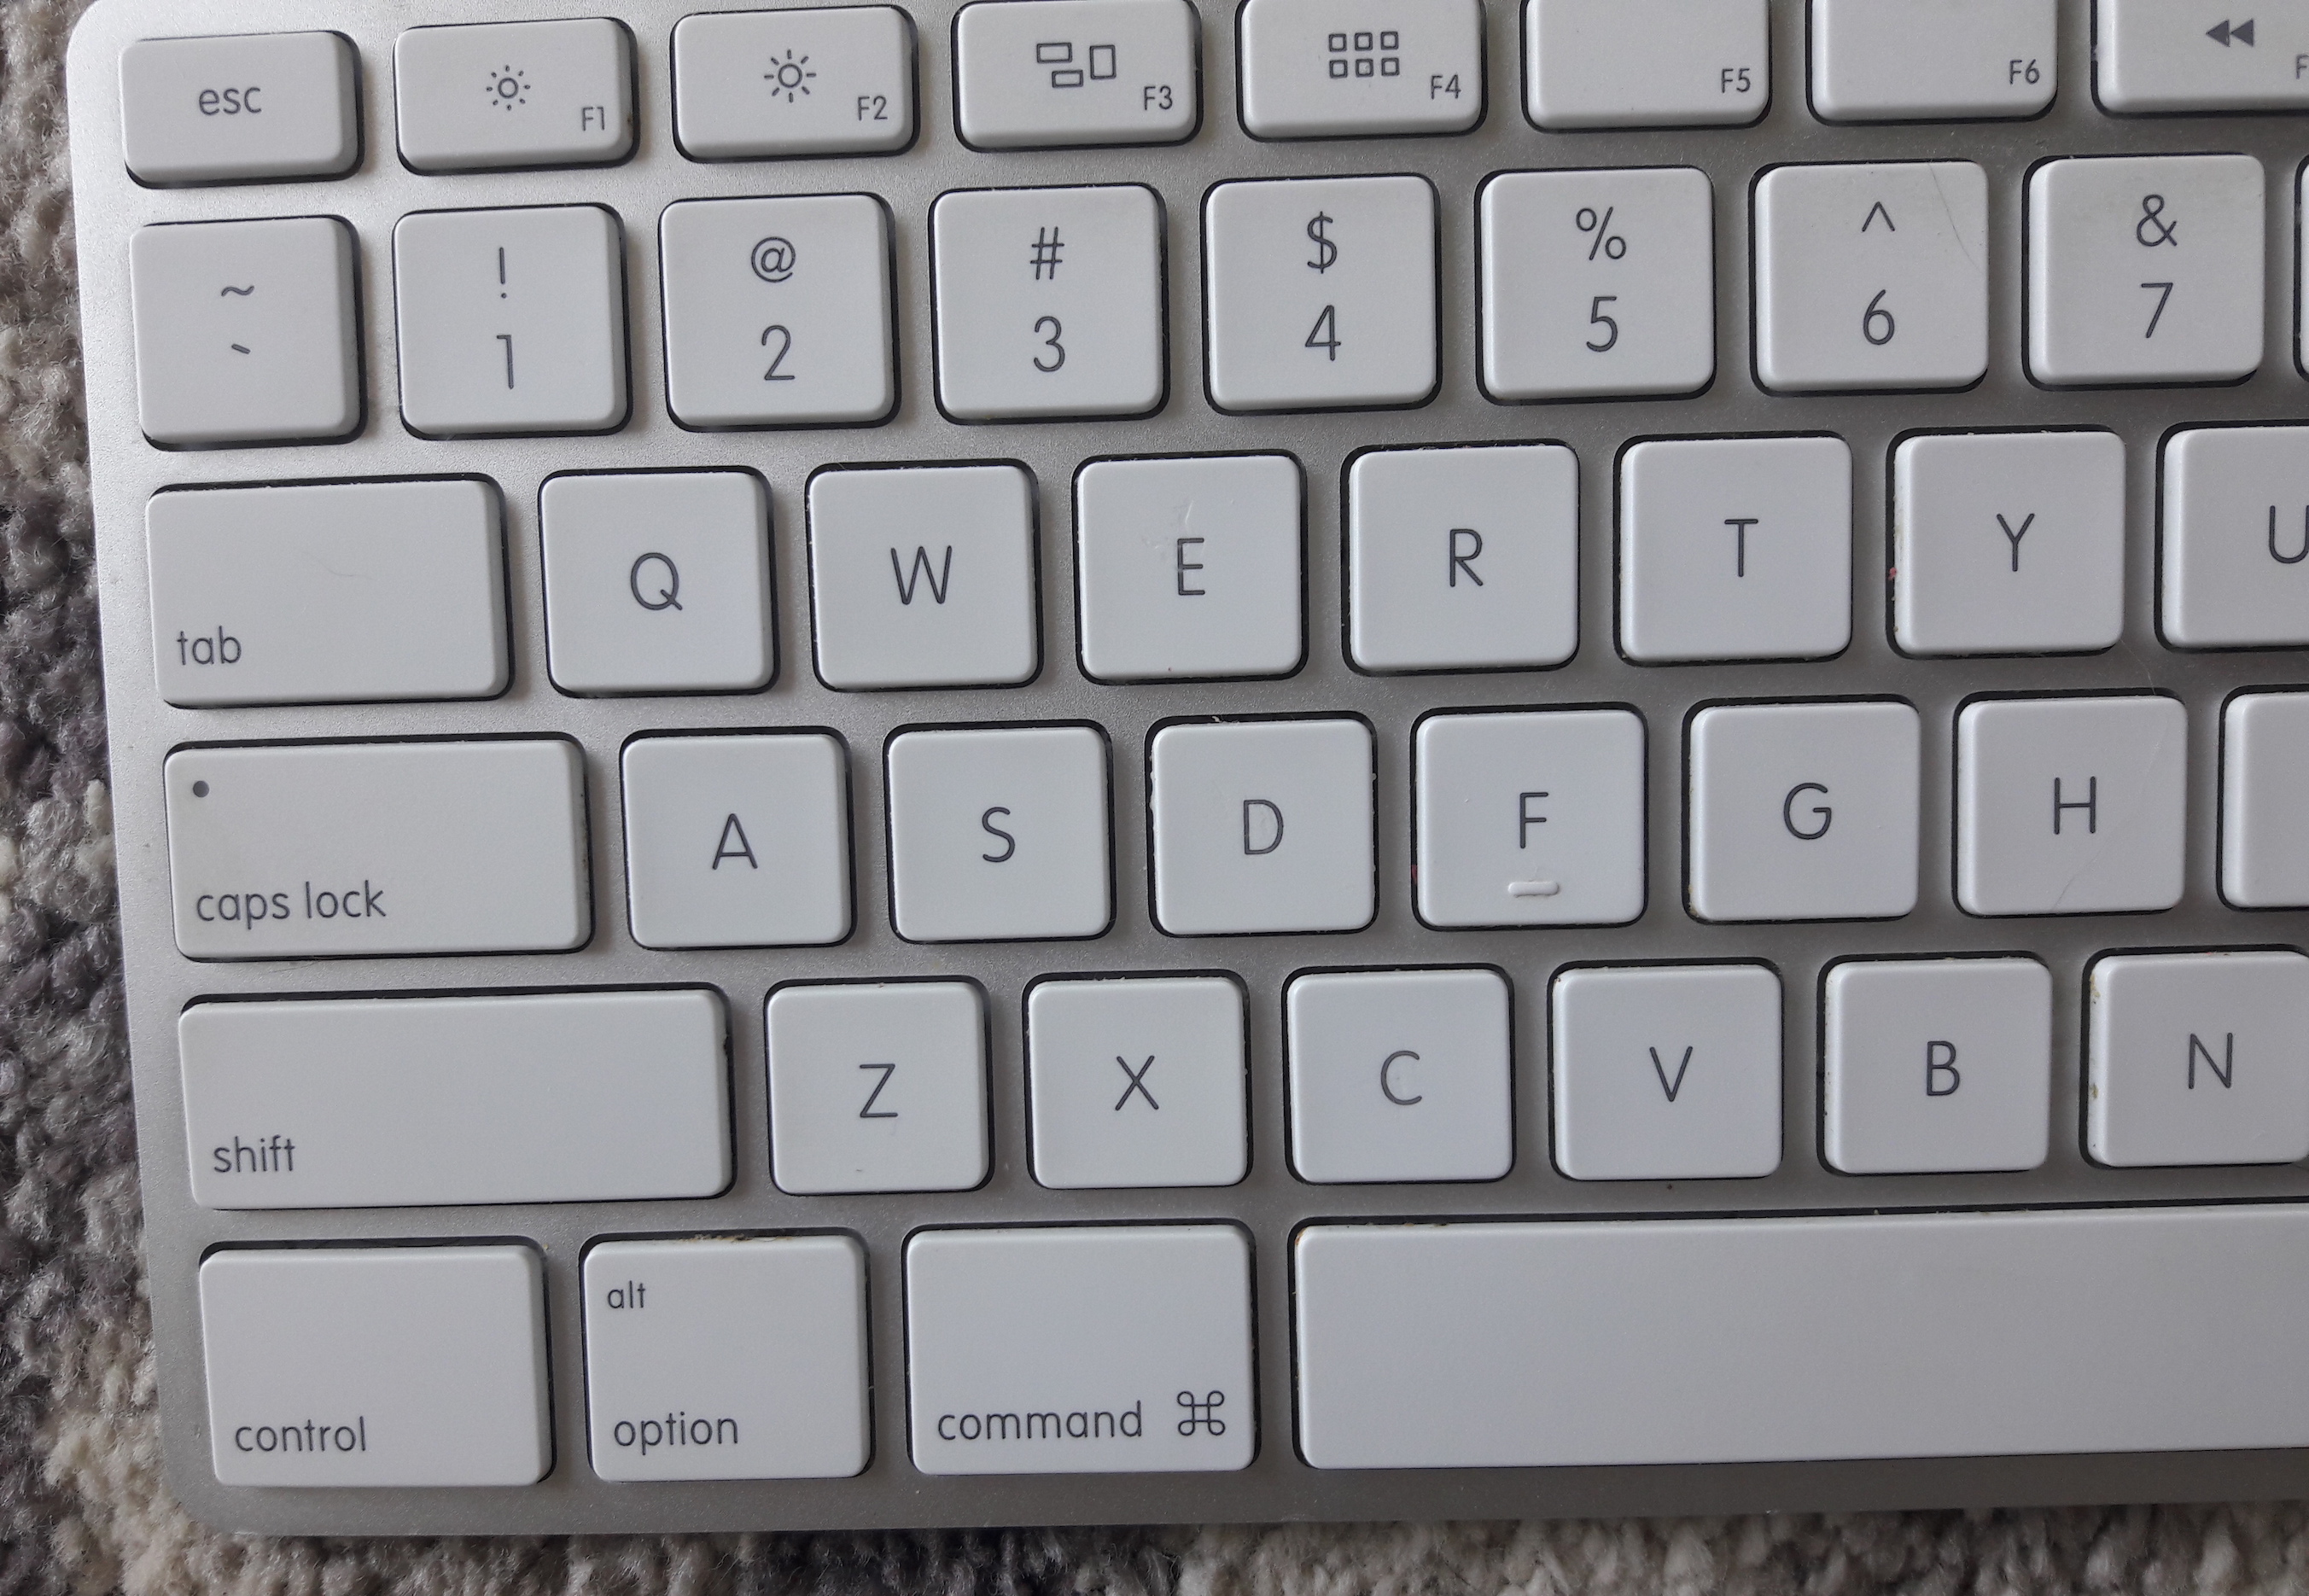
- Mac order
Ctrl,Option/Alt,Command/Win- Windows order
Ctrl,Command/Win,Option/Alt
Tools
Updating the layout from my Mac was simple using a few freely available tools.
tkg-toolkit
The TKG toolkit is a selection of tools supporting the TMK Keymap Generator. It is used to update the keyboard’s EEPROM and firmware. It should be possible to program this keyboard using Quantum Mechanical Keyboard Firmware, but at the time of writing this, the keyboard is not fully supported by qmk.
keyboard-layout-editor.com
The Keyboard Layout Editor makes it simple to define a layout by mapping key locations to names.
TMK Keymap Generator
The TMK Keymap Generator converts a keymap string, such as produced by the keyboard-layout-editor.com, and generates a file that can be used to update the keyboard’s EEPROM. This is then provided to tkg-toolkit to flash the new layout.
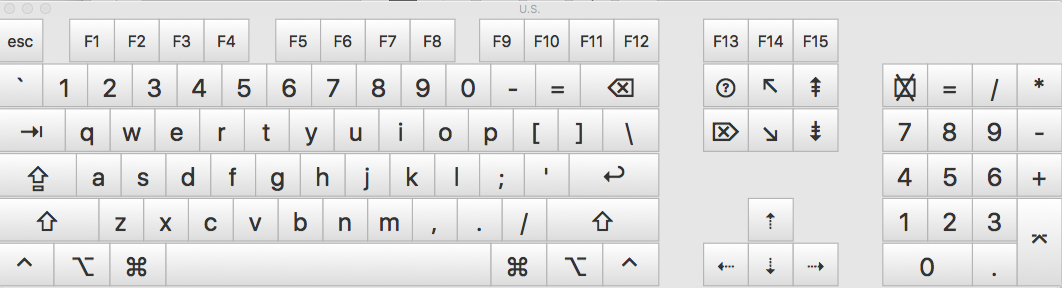
Mac Keyboard Viewer
Mac OS X has a keyboard viewer that can be accessed by mouse or other pointing device. This is helpful when keyboard input is required but the physical keyboard is busy being updated.
Howto
tkg-toolkit setup
Clone the tkg-toolkit git repository. The current version of the {{page.tkg-toolkit-link}} does not contain the firmware for this keyboard, fantastic60.hex, as described in this pull request. I added it to my local repository from here.
The firmware hex file, fantastic60.hex, does not appear to be required if all you wish to do is update the EEPROM with a new layout. I feel is it wise to keep a copy of the current firmware.
Use git to clone the tkg toolkit repo
Execute the following from the command line.
clone git@github.com:kairyu/tkg-toolkit.gitEnsure that libusb-compat is installed.
brew install libusb-compatPrepare to reflash.
From the tk-toolkit repo, do the following.
cd mac
./setup.sh
PATH=$PATH:$(pwd)/bin
During setup you will be prompted to select your keyboard. Select the option for Fantastic60. You will then be prompted to select your bootloader. Select the option for atmel_dfu. The setup.sh script does two things. It creates a conf directory then a configuration file named default.ini.
The conf/default.ini created by setup.sh should look like this.
Name="Fantastic60"
MCU=atmega32u4
Firmware=fantastic60.hex
Bootloader=atmel_dfu
Setting the path with PATH=$PATH:$(pwd)/bin is temporary, so you would either want to update your path differently or just execute this each time before you re-flash.
Setup Alternate keyboard
Ensure that you can access the Mac Keyboard Viewer. On my system, the Keyboard Viewer looks like this.
It should be possible to activate the keyboard viewer from one of these paths:
- Apple menu > System Preferences, click Keyboard, click Keyboard, then select “Show keyboard and emoji viewers in menu bar.”
- System Preferences > Language & Text > Input Sources > Check the box “Keyboard & Character Viewer.”
Define layouts
This keyboard can have multiple layered layouts. The way this works is explained in the TMK Keyboard Firmware Collection here. The keyboard shipped with two layers, but as shown in MechMerlin’s video here1, I too add a third layer.
Define a layout for each layer using keyboard-layout-editor.com. Save the layouts by saving the raw data. This can be done using the github functionality provided in the keyboard-layout-editor.com site, or manually from the raw data tab.
The user manual describes the original layout. My customization includes three layers, numbered zero through two, to match the numbering used by [tkm-keymapgenerator-link][]. Higher numbered layers apply changes for mapped keys and are transparent for un-mapped keys. By transparent I mean that if a higher numbered layer does not define a mapping for a given key, then that key will function as defined in the next lower numbered layer, with a mapping.
I created a public gist for the raw data and a link to load each layout into the keyboard layout editor.
| Layer | Links |
|---|---|
| 0 | raw data gist, load in page |
| 1 | raw data gist, load in page |
| 2 | raw data gist, load in page |
Each of the layers are defined against a Default 60% keyboard.
Layer 0
The first layer is named layer zero. Here I have altered the order of the meta keys on lower left and remapped the caps-lock key to the esc key. The new meta key order matches the default for a mac keyboard. I also altered the original esc key to produce the ` and ~ characters.
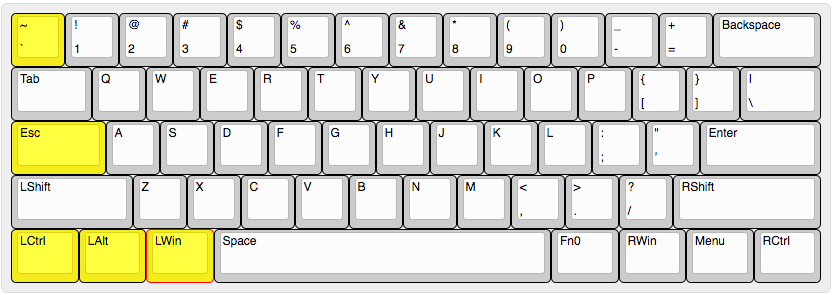
Make sure you save your customizations to your gist.
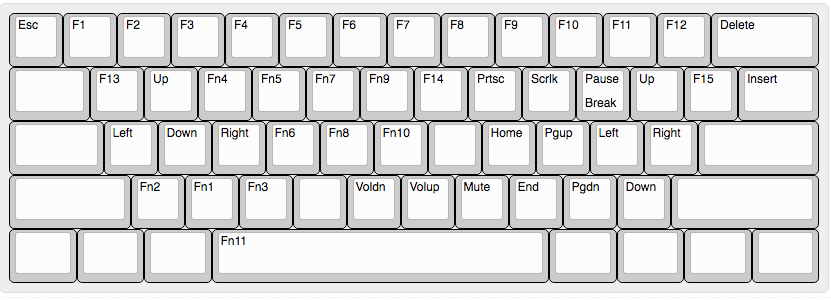
Layer 1
The second layer, layer one, is modified to change the space-bar to execute firmware function Fn11. The Fn11 key is not the same as the F11 key. The F11 key is a normal keyboard key. F11 activation is passed on to the operating system for interpretation, and in this layer, is still mapped to the key that is - on layer zero. I added a few more normal function keys to this layout in case they are actually used by the operating system.
Notice that in this layer the space-bar key has been re-mapped to Fn11.
Layer 2
Layer two will map only four keys.
Transparent layout
{:.no_toc}
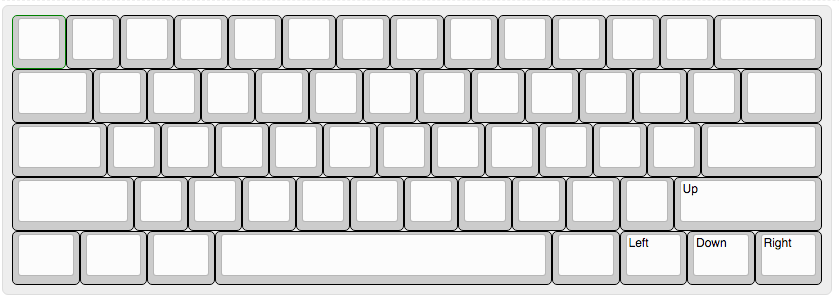
When there are few keys to map, it is easier to start from a fully transparent layout. I created such a layout. Its gist is here and can be loaded from here.
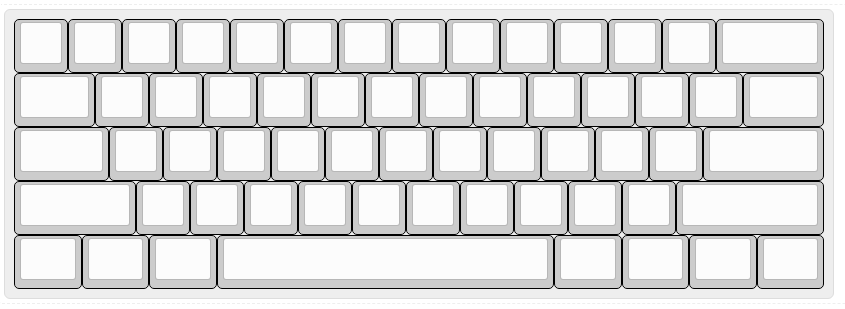
Arrow keys defined for Layer 2
{:.no_toc}
Here all the keys are transparent except the arrow keys defined in the lower right corner.
Make a keymap with TMK Keymap Generator
Go to TMK Keymap Generator.
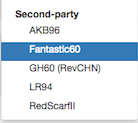
Select the
Fantastic60keyboard.
Select layer mode
Normal.Select
3layers.Paste each of the three layers we created above into their respective text area.
You can paste the raw data or you can paste the keyboard-layout-editor.com links with the saved content. I have links for my layers in the table here. Your cursor must leave the text area in order for the URL to be fetched and the data parsed. You might need to click on the page outside a text area to trigger the action. You will be presented with errors and warnings if applicable. I have found that errors typically mean that I have pasted data incorrectly.
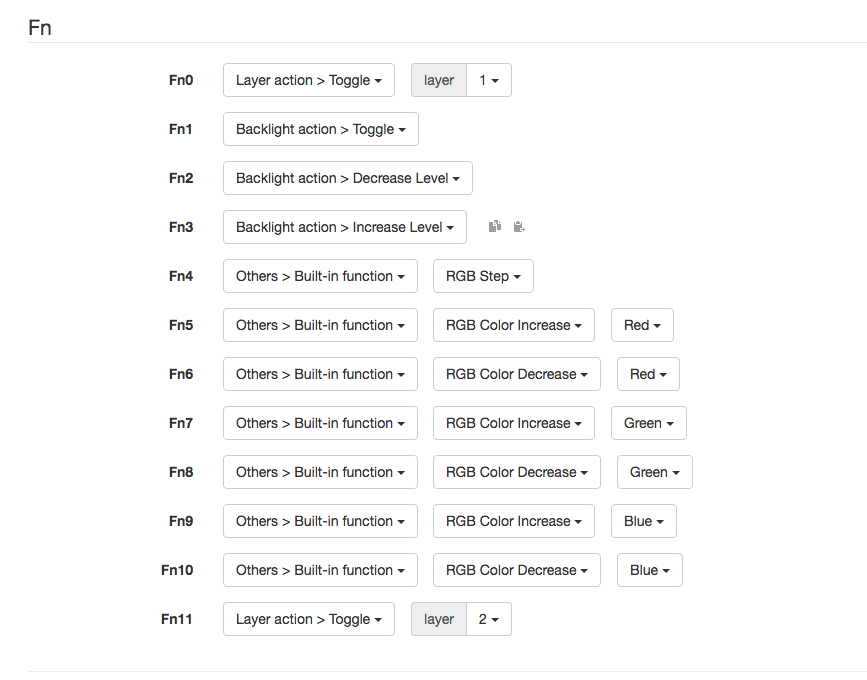
- Define the firmware functions.
The mapping for the Fn keys should largely be the same as the default, but with the addition of a toggle setting for Fn11. Note the action for Fn0 and Fn11. In both cases they are a toggle to a new layer as described here. This means that with each press and release of the key the active layer changes. Fn0 is being used to activate and deactivate layer one (the second layer). Fn11 is being used to likewise activate and deactivate layer two, the third and final layer.
- Click the
Download .eep filebutton to download the.eepfile.
Flashing the keymap to EEPROM
Go back to the command line. You should be in your
tkg-toolkitgit repo in themacdirectory. You should be there from where you executed the setup and updated the path above.reflash the EEPROM and provide the path to your newly downloaded
.eepfile. Where./keymap.eepis replaced with the actual path and file name for the newly created.eepfile.
./reflash.sh ./keymap.eepYou will be presented with a prompt asking if you want to continue.
Open the keyboard viewer.
Turn over the keyboard you are flashing, and push the reset button, located on the bottom of the keyboard.
Using the keyboard viewer, Type
Yto answer thecontinueprompt. Prevent the keyboard from being interrupted during the flashing process.When the flashing process is complete, you will be prompted to press any key to continue. Use the keyboard viewer to press any key.
Disconnect the keyboard from the USB cable, and then re-connect it. Now test out each layer and ensure it is working the way you want.
You are done. Enjoy!
Useful links
- dfu programmer
- qmk
- QMK Firmware docs
- KBParadise
- ATMEGA32U4
- KBParadise V60 polestar
- tkg-toolkit
- keyboard-layout-editor.com
- TMK Keymap Generator
- MechMerlin’s video for programming this keyboard from Windows
- MechMerlin’s video reviewing this keyboard
- Programming Manual from KBParadise for the V60 Type R Keyboard
- Homebrew package manager
The video shows, step by step, how to program this keyboard using tkg-toolkit and the other tools listed above, on a Windows system. I found his programming video and his review of the keyboard to be quite helpful.↩︎


